If you’ve been looking for comprehensive bathroom tile cleaning instructions, you’re in the right place. Bathroom tiles, whether they are ceramic, porcelain or natural stone, require specific care to maintain their shine and prevent buildup of soap scum and mold.
In this guide, we’ll delve into daily practices that can help keep your tiles sparkling clean – from using a daily shower cleaner to the importance of squeegeeing your bathroom walls. We’ll also share some DIY cleaning solutions that you can easily make at home.
For those stubborn stains or discolorations on your tile’s surface, we have effective strategies lined up too. Additionally, our bathroom tile cleaning instructions include steps for weekly wipe-downs and humidity control measures to prevent mold growth.
We will also discuss preventive measures against odors and emphasize on dry soil removal prior to wet-cleaning process for an efficient deep clean. So let’s get started!
Table of Contents:
- Daily Practices for Cleaning Bathroom Tiles
- Homemade Solutions for Everyday Tile Cleaning
- Comprehensive Deep Cleaning Procedure
- Dealing with Stubborn Stains or Discoloration
- Weekly Wipe-downs & Humidity Control
- Preventive Measures Against Odors
- Ditch the Dust, Make Cleaning a Must.
- FAQs in Relation to Bathroom Tile Cleaning Instructions
- Conclusion
Daily Practices for Cleaning Bathroom Tiles
Keep your bathroom tiles sparkling with these simple daily practices. No scrubbing required.
Use a Daily Shower Cleaner
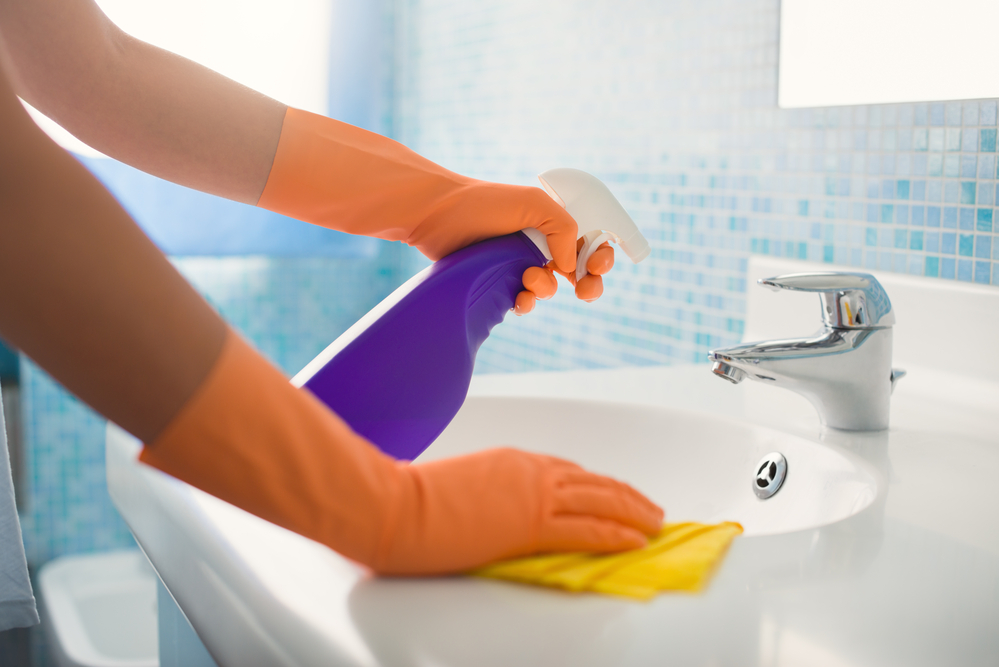
Spray a daily shower cleaner after each use to maintain the shine on your tiles. It works like magic, especially on glass and natural stone tiles.
Squeegee Your Walls
Prevent soap scum buildup by squeegeeing your walls after every use. Say goodbye to those pesky white streaks and spots.
- Step 1: Start at the top corner and squeegee down.
- Step 2: Wipe the blade between each stroke.
- Step 3: Keep up these habits and enjoy a fresh bathroom with less deep cleaning needed. Time and effort saved.
So why wait? Start today and see the difference for yourself.
Homemade Solutions for Everyday Tile Cleaning
Commercial cleaning products can be harsh on your tiles or even cause allergic reactions. But fear not. You can whip up a homemade solution that’s gentle yet powerful enough to keep your bathroom tiles sparkling clean.
Making Homemade Solutions with Dish Soap and Vinegar
For a natural cleaner, mix equal parts dish soap and white vinegar in a spray bottle. The vinegar disinfects, while the dish soap tackles grime and dirt on your tile surfaces. This combo works wonders, especially for ceramic and porcelain tiles that love to collect grime due to their texture.
- Pour 1 cup of white vinegar into a spray bottle.
- Add 1 cup of liquid dish soap to the same bottle.
- Give it a good shake until the ingredients are thoroughly mixed.
Steps in Applying the Homemade Solution
Applying this homemade solution to your bathroom tiles is a breeze:
- Spray generously onto tile surfaces, making sure every nook and cranny gets covered.
- Let it sit for about 10 minutes to break down stubborn stains and built-up grime. This way, the cleaner does the hard work for you.
- Rinse off thoroughly with warm water to ensure no residue is left behind. Leftover soapy residue can attract more dirt, undoing your hard work.
- Buff dry with a microfiber cloth for a shiny, streak-free finish. Say goodbye to those pesky streaks that air-drying can leave behind.
Remember to check a small area first to guarantee the cleaner and material are compatible before using this economical, environment-friendly homemade solution. Just remember to spot test a small area first to ensure compatibility between the cleaner and the material you’re cleaning.
Comprehensive Deep Cleaning Procedure
Keeping your bathroom tiles clean and shiny is easier than you think. Follow this comprehensive deep cleaning procedure to maintain their sparkle and durability.
Start with Wall Tiles
Don’t neglect those bathroom walls. They can accumulate soap scum, hard water stains, and mildew. Begin your deep cleaning process by tackling these areas first. Use a non-abrasive tile cleaner to avoid scratching those precious tiles.
Bye Bye Grout Grime
Time to take care of the gaps between tiles. Those little lines between your tiles can get seriously dirty and discolored. Apply a generous amount of a reliable grout cleaner and let it sit for 10 minutes. This gives the solution enough time to work its magic and loosen up embedded dirt.
If regular cleaners aren’t cutting it, try specialized products like alkaline cleaners or steam cleaners. And don’t forget the power of Magic Erasers. After cleaning with specialized products, wipe away any remaining residue using a damp sponge or microfiber cloth.
Grab a stiff-bristle brush (no metal brushes, please) and scrub along each grout line until you see those satisfying results. Rinse thoroughly with warm water to ensure all residues are washed away. Then, dry the surfaces with a soft absorbent towel to prevent moisture accumulation and potential mold growth down the line.
Dealing with Stubborn Stains or Discoloration
So, you’ve got some stubborn stains on your bathroom tiles? No worries, we’ve got solutions for those pesky spots and widespread discoloration problems.
Specialized Products to the Rescue
If regular cleaning products don’t do the trick, it’s time to get serious and utilize some more powerful solutions. Consider using alkaline cleaners to tackle those tough stains. These powerful agents can break down grime and restore your tiles’ original color. For more serious cases, a steam cleaner might be your best bet. It uses hot vapor to blast away dirt particles from deep within the tiles.
Magic Erasers: Not Just for Wizards
Another handy tool for fighting stubborn stains is the Magic Eraser. When used correctly, it can make those marks disappear like magic. Just wet the eraser, gently scrub the stained areas, and watch the stains vanish.
After dealing with those problem spots, make sure to wipe away any residue. You don’t want to attract more dirt over time. Use a damp sponge or microfiber cloth to remove any remaining solution from the tile surface.
Keeping our bathrooms clean sometimes requires a little extra effort. Remember, always test new products on a small area before going all out on your tiles.
Weekly Wipe-downs & Humidity Control
Don’t let your bathroom tiles turn into a grime festival. Keep them clean and shiny with some weekly wipe-downs. It’s like a spa day for your tiles.
The Power of Weekly Wipe-Downs
A quick weekly wipe-down can work wonders in maintaining cleanliness. Grab a damp cloth or sponge, dip it in warm soapy water, and give those tiles a good scrub. Say goodbye to dirt and hello to a sparkling bathroom.
Humidity Control: Mold’s Worst Enemy
Bathrooms can get pretty steamy, and that’s a breeding ground for mold. Keep humidity in check by opening windows or using an exhaust fan. Mold won’t stand a chance.
Remember, mold loves moisture, so fix any leaks from faucets or showerheads ASAP. Don’t let those sneaky drips ruin your bathroom tile party.
Preventive Measures Against Odors
Bathrooms can stink, especially public ones. The culprit? Urine on the floor. Fear not, for there is a solution.
Mat Attack.
Stop urine splashback in its tracks with special mats designed to catch those pesky droplets. These urinal mats not only keep your bathroom cleaner, but also prevent odor-causing puddles from forming.
Bye-Bye Odor
Even with mats, some smells may linger. That’s where odor digesters come to the rescue. These magical enzymes break down bacteria that cause stinkiness. Use them regularly to keep your bathroom smelling fresh.
Don’t forget the basics. Clean your urinals regularly and replace worn-out mats. And let’s not overlook the power of ventilation. Good airflow is essential to prevent odor buildup. If your bathroom lacks proper ventilation, consider installing a system to keep the air flowing.
Ditch the Dust, Make Cleaning a Must.
Before you get your tiles wet and wild, take a moment to tackle those dry soils that have made themselves at home. Trust me, it’s worth the extra effort to prevent dirt build-up and ensure a sparkling clean bathroom.
The Dry Soil Dilemma
Don’t underestimate the importance of banishing dry soils before diving into the wet-cleaning process. It may seem like a detour, but it’s a detour that leads to cleaner tiles and a longer lifespan for your bathroom oasis.
Grab yourself a disposable microfiber dust mop, the superhero of tile cleaning. These bad boys are designed to swoop up small dirt particles with ease, making them the perfect sidekick for your cleaning mission.
- Step 1: Sweep or vacuum your bathroom floor to bid farewell to loose debris. Brooms and vacuums with hard surface settings are your best buds.
- Step 2: Unleash the power of the disposable microfiber dust mop, reaching every nook and cranny where dirt likes to hide.
- Step 3: Dispose of the used mop head responsibly, because nobody wants a mop full of bacteria lurking around.
By banishing dry soils, you’re ensuring that your water-based cleaners won’t turn your tiles into a muddy mess. Say goodbye to extra scrubbing and hello to a job well done.
Oh, and one more thing: always follow the manufacturer’s instructions when using cleaning products. We don’t want any accidental damage, do we? Armed with these steps, you’re ready to tackle the wet-cleaning phase like a pro. Get ready for optimal results.
FAQs in Relation to Bathroom Tile Cleaning Instructions
What is the best method of cleaning bathroom tiles?
The most effective way to clean bathroom tiles involves daily maintenance, regular deep-cleaning with homemade solutions like dish soap and vinegar, and targeted treatments for stubborn stains. For more details on these steps, check out our guide on bathroom tile cleaning.
How to do deep cleaning of bathroom tiles?
Deep-cleaning your bathroom tiles requires a systematic approach starting from wall tiles then moving onto floor ones. It’s essential to use proper grout cleaners during this process. Learn more about it in our article on deep-clean procedures.
How do you clean tiles step by step?
Clean your tiles in sequential steps: remove dry soil first; apply homemade solution; scrub gently; rinse thoroughly; wipe down weekly & control humidity levels. You can read up further on each step at our comprehensive guide on how to clean your tiles.
Conclusion
These bathroom tile cleaning instructions will keep your tiles looking fresh and clean.
Use shower cleaners and squeegee daily to prevent grime and soap scum buildup.
Try homemade solutions with dish soap and vinegar for affordable everyday tile cleaning.
Start from the wall tiles and apply grout cleaners properly for a deeper clean.
Tackle stubborn stains or discoloration with specialized products or Magic Erasers.
Prevent mold growth with weekly wipe-downs and humidity control.
Use mats to catch splashbacks and occasional odor digesters to maintain freshness.
Remove dry soils before wet-cleaning for better results.

